Arch Linux installation guide
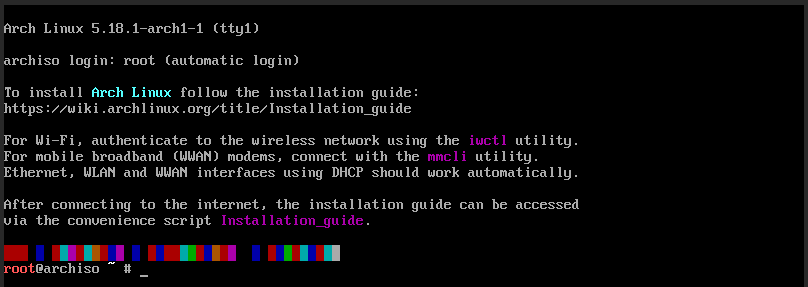
Posted on 2022-06-17 09:36 [linux, tech]Nothing novel, just another arch linux installation guide. After live-booting the .iso file, you will be auto-logged-in to the root user, and face something like this:

DISCLAIMER: The process for installation can change any moment based on the versions of Arch Linux. This tutorial was made for 5.18.1-arch1-1. If you have problems or doubts then the first resource to consult should be the ArchWiki.
Pre-installation stuffs
Keyboard layout
Setting keyboard layout: the keymaps are present in /usr/share/kbd/keymaps. The default map is US. The keymap can be changed using logkeys filename where filename is the name of the keymap file. The list of keymaps can be obtained using ls /usr/share/kbd/keymaps/**/*.map.gz.
The next thing to tackle is the time and date settings.
Time and date
The system clock settings are managed using timedatectl. Running the command without options shows the current system clock.

The timezone is not correct for me. To change it, first we list the available timezones using:
timedatectl list-timezones
This presents a ‘less’1 interface which can be scrolled up/down using the arrow keys or using the vim-like keys j/k. One can also search by pressing / and then typing your query and pressing enter. The interface can be exited by pressing q.2

Partitioning
One of the most important steps of pre-installation. Since I am working on a VM, I will skip the step for creating EFI partition, but it is not difficult to extend it from the steps shown below and using this wiki page.
The tool to be used for partitioning is fdisk. Firstly, the storage devices can be listed using fdisk -l.

Here /dev/sda is our disk - the other one is the liveboot .iso file. Now, we can edit the partition table3 of the disk using fdisk /dev/sda. This brings us to the fdisk partitioning interface. There are three key commands to remember while here:
g- this creates a new GPT type partition table (please know that this will overwrite any existing partition table with a clean and empty one - so this can potentially lead to data-loss if you’re operating the commands on a disk with contents already)n- this creates a new partition using interactive dialogsp- this displays the partition table currentlyw- this writes the changes to disk and exits the toolt- this changes the type of the partition
We first start by creating a new GPT type partition table using g. After this, we can go about creating the partitions themselves. For partition number and the first sector it should be fine to stick to the default values for most of the cases, though any customisations necessary should be intuitively doable. The last sector defines the size of the partition essentially - values starting with + defines how big of a partition it should be (here we can use abbreviations to denote the size such as +1G, +500M etc.), and values starting with - defines till how much from the end should the partition size should be (-1G takes up till the last 1 GB of the available space).
As for the pattern of the partitions, it is generally advised to have home (~) and root (/) on separate partitions, and an additional partition for swap4. And depending upon your bios type you need to have a boot partition too - for starters refer the GRUB ArchWiki page to know the specification for the boot partitions. Once the partitions are created, their types designated using t and after checking that it is as intended (using p), the changes can be written to disk and exited using w.

Formatting
Now that the partition table is set, we have to format the disk according to the table, while duly considering the format for each partition. ext4 is the ideal format for linux systems. In the case of dual booting with windoze, it is suggested to format any shared partitions with NTFS or FAT32 so that they can be mounted in the other OS as well5.
The following are the commands for different formatting options:
- ext4 -
mkfs.ext4 /dev/sdaX(replacesdaXwith whatever partition you want to format) - NTFS -
mkfs.ntfs /dev/sdaX - swap - in this case first you need to format the swap partition using
mkswap /dev/sdaX, and then activate/enable the swap usingswapon /dev/sdaX(wheresdaXis your swap partition).
You can do fdisk -l /dev/sda as when required to know the correct labels of the partitions you created in the previous step.
Mounting
Once the disk has been partitioned and formatted, it has to be mounted to the liveboot environment now in order to install the operating system into it. This is needed because of the way the operating system functions - the partitions are located in the disk and have “connectors” available for connecting - these are the labels /dev/sdaY. In order to use them, we must “connect” them to a “space” which shall be a directory. For now the partitions that must be mounted are root and, if present, home and boot. The root partition should be mounted to /mnt using the command:
mount /dev/sdaX /mnt
Be careful to use the correct partition labels.
Installation
Now we can go about with the actual installation using pacstrap. The general command format is pacstrap /mnt [PACKAGES] where PACKAGES is a space separated list of packages or package-groups to install. The minimum necessary ones are base, linux, and linux-firmware. Here is the list of packages that I suggest starting with:
base-devel- this has very important tools such assudo,pacman,gcc,makein addition to many others.man-db,man-pagesandtexinfo- needed for viewing man-pages6 in the terminal.networkmanager- this provides with two useful toolsnmcliandnmtui(the commandline and terminual-user-interface versions, respectively) for networking options.git- useful when you need primarily important packages that is outside of any repository that is present by default - the AUR manageryayis one such example.vimornano-vimis the terminal text editor of my choice, but I suggest beginners to go withnanofor “intuitive” controls. (LPT: if you have installed vim and want to exit but don’t know how to, here is how to do it: pressEscapeonce, and then type:q!and then pressEnter. You’re welcome. Now please go learn vim before trying to use it again.)
So in summary my pacstrap would look like this:
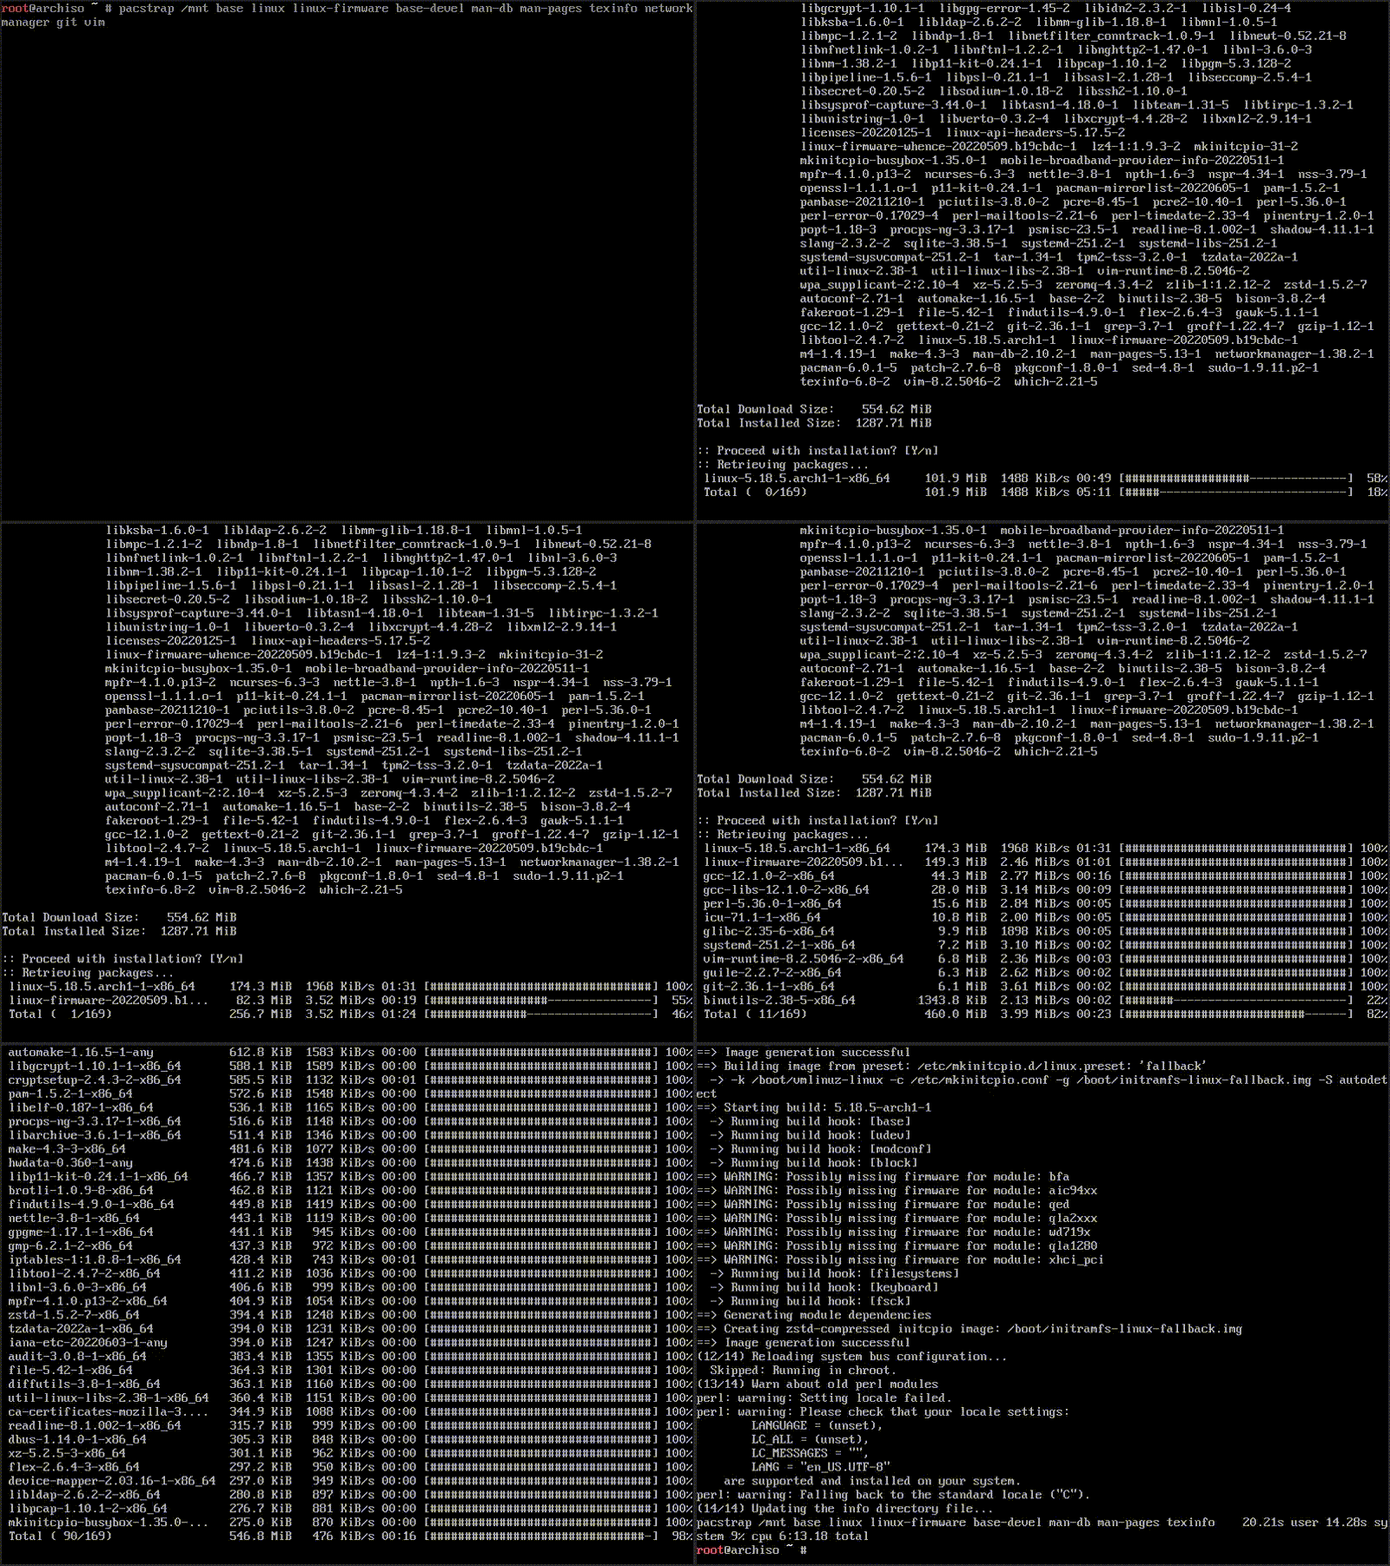
pacstrap /mnt base linux linux-firmware base-devel man-db man-pages texinfo networkmanager git vim
Running command similar to the above will proceed with the installation, and now to play the waiting game. The installation process sped-up 20X is shown here.

Configuration
Fstab
The fstab file has the details regarding the mountpoints and mount configurations of the disks and partitions. This should be generated using
genfstab -U /mnt >> /mnt/etc/fstab
If you have a separate home partition, make sure to mount it to /mnt/home before generating fstab file.
Chrooting
So far we have been working as the root user of the liveboot image. Now we have too change to the root user of the newly installed OS at /mnt. This can be done using arch-chroot /mnt. This will bring us to the root user prompt of the installation, and the prompt look will change as shown here.

From hereon all the steps must be done from this changed root.
Timezone
Now we have to set timezone for the new installation (earlier we set the timezone for the liveboot root environment). The list of timezones can be viewed, navigated and searched using this command
ls /usr/share/zoneinfo/*/* | less
Once you have identified your zone, the timezone can be set using
ln -sf /usr/share/zoneinfo/region/city /etc/localtime
Now to apply this time adjustment for the system clock, we should run
hwclock --systohc
Locale
Locale as the name implies is a set of environment variables that store the information regarding the user’s region, language and the character mapping used. The list of locales are found in /etc/locale.gen. We must uncomment (remove the heading # from the corresponding line) the needed localisations. I stick to en_US.UTF-8 UTF-8.7 Once you’ve uncommented the localisations, you can generate the locale using locale-gen command.

Now create the language localisation file at /etc/locale.conf and set the language accordingly as per the localisation you uncommented. For example, this will be the contents of my localisation file:
LANG=en_US.UTF-8
Network configuration
We have to set the hostname - hostname is the name of your computer as it appears in a network. To set this, create the file /etc/hostname and put your desired hostname in the file.
Root password
So far we have been using the root user without setting a password. Now we do it using the passwd command. NOTE If you are new to linux ecosystem, you might find it perplexing that when you type the password, nothing is being typed - this is the normal behaviour in most of linux password input areas and is a security feature. There will not be any asterisks to show the characters that you type, but still whatever you type is actually being input, so you type it all out and press enter. If you feel you have made a mistake, then you can delete the entire line using Ctrl+U or just keep pressing backspace till you feel you have reached the end, but we may never know if we reach the end 0_0

Bootloader
Finally to install the bootloader. There are various options available - I personally use rEFInd for its extensive theming capabilities. For starters, we can go with GRUB. The extensive list for other options are provided here.
Since I am on a VM, I will stick to the BIOS type configuration. If you are using an UEFI system, the procedure for that is provided in the ArchWiki page of GRUB. For BIOS configuration, we require a partition of size 1MB of the BIOS type. This can be done using fdisk.
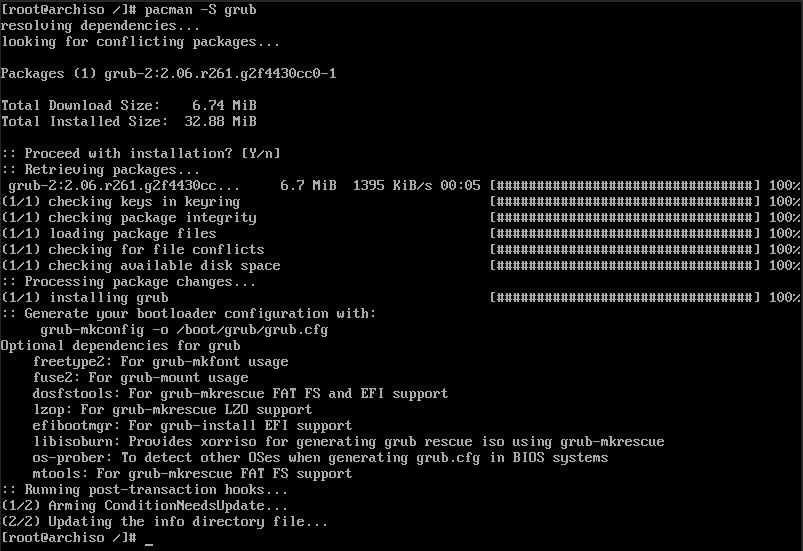
First I start with installing the GRUB package using
pacman -S grub

Now enter the following command to set-up the boot configuration (here /sdX is the physical drive where bootloader must be installed, for example /sda in my case)
grub-install --target=i386-pc /dev/sdX

Now we can generate the configuration file using
grub-mkconfig -o /boot/grub/grub.cfg

The config file we generated just now will only add the OS from the current drive. In order to find other bootable operating systems (useful when dual/multi-booting) and add them to grub menu we must edit /etc/default/grub and add/uncomment:
GRUB_DISABLE_OS_PROBER=false
Please refer this wiki page for more details and specific use cases.
And that concludes the basic installation process. Now we must reboot.
Reboot
Exit the chroot using exit command. Unmount all the partitions using umount -R /mnt. Now reboot the machine using reboot. If the installation was successful you will be greeted with login screen once the system reboots up, then congratulations for your first working arch linux installation!
There will be follow-up articles soon on post-installation works such as setting up other user accounts, setting up a graphical user-environment, configuring, ricing etc.
Cheers!
-
lessbelongs to a class of tools known as terminal-pagers - these are used for viewing long pieces of texts using simple controls while also providing features such as searching. ↩ -
For the uninitiated, the console screen can be cleared using the command
clearor using the hotkeyCtrl+L. ↩ -
Partition table of a disk keeps the information regarding how the disk is partitioned i.e. the location, size and the format of the partitions. ↩
-
Swap serves as virtual memory, and is especially useful for hibernating purposes. ↩
-
ext4cannot be mounted in windoze - all the more reason to format the linux root partition with this, so that in the accidental case of booting into windoze after hibernating from linux, the linux partitions will not be wiped out or be corrupted. ↩ -
man-pages or manual pages are what they sound like - they are the documentation or manuals for various tools. They can be accessed using the
mancommand asman toolname. The manual is provided with a less-interface1 ↩ -
This editing can be done using the text editor of your choice - if you’re using
nano, you open the file bynano /etc/locale.gen, then you can search the file usingCtrl+Wand make the necessary edits. Once the changes are done, you can write the file usingCtrl+Oand exit usingCtrl+X. ↩